A Google Tag Manager server container allows measurement code to be run separately from your website using Google Cloud’s infrastructure. It offers several advantages over site tags.
- Cookies: Provides an alternative to third-party cookies and platforms that don’t allow client-side measurement.
- Improved performance: Some measurement tags on your website can be migrated to a server container instead of running on the client side, which could speed up page load time.
- Better security: Your client’s data is more secure when collected and sent in a server-side environment.
Create a Tag Manager server container
To use server-side tagging, create a new Tag Manager server container:
- Go to tagmanager.google.com and login with your Google user.
- Click ⋮ next to the correct account name.
- Choose Create Container.

- Under Container name enter “www.yourwebsite.com - Server Container".
- Under Target platform, choose Server.
- Click Create.

- A dialogue to set up your tagging server titled Install Google Tag Manager will appear.
- Click Automatically provision your tagging server.
- A dialogue titled Create tagging server will appear.
- Select a billing account and click Select billing account and create server. If you do not have a billing account, skip to the Creating a Google Cloud billing account section below.
- Wait for the “Stand by while your server is created. This may take a few minutes.” dialogue to finish.
- On the Server Created dialogue, click Close.
Creating a Google Cloud billing account
- Click Create a billing account. A tagging server should fall under the free tier of Google Cloud services unless your organization is already using Google Cloud for other services or in the event that your website receives a large amount of traffic.
- In the Name field, enter an identifiable name such as “TD Visa”.
- Select the correct Country to be billed in that country’s currency.
- Click Continue.

- Fill out the Set up your billing profile page and click Submit and enable billing.
- Return to tagmanager.google.com.
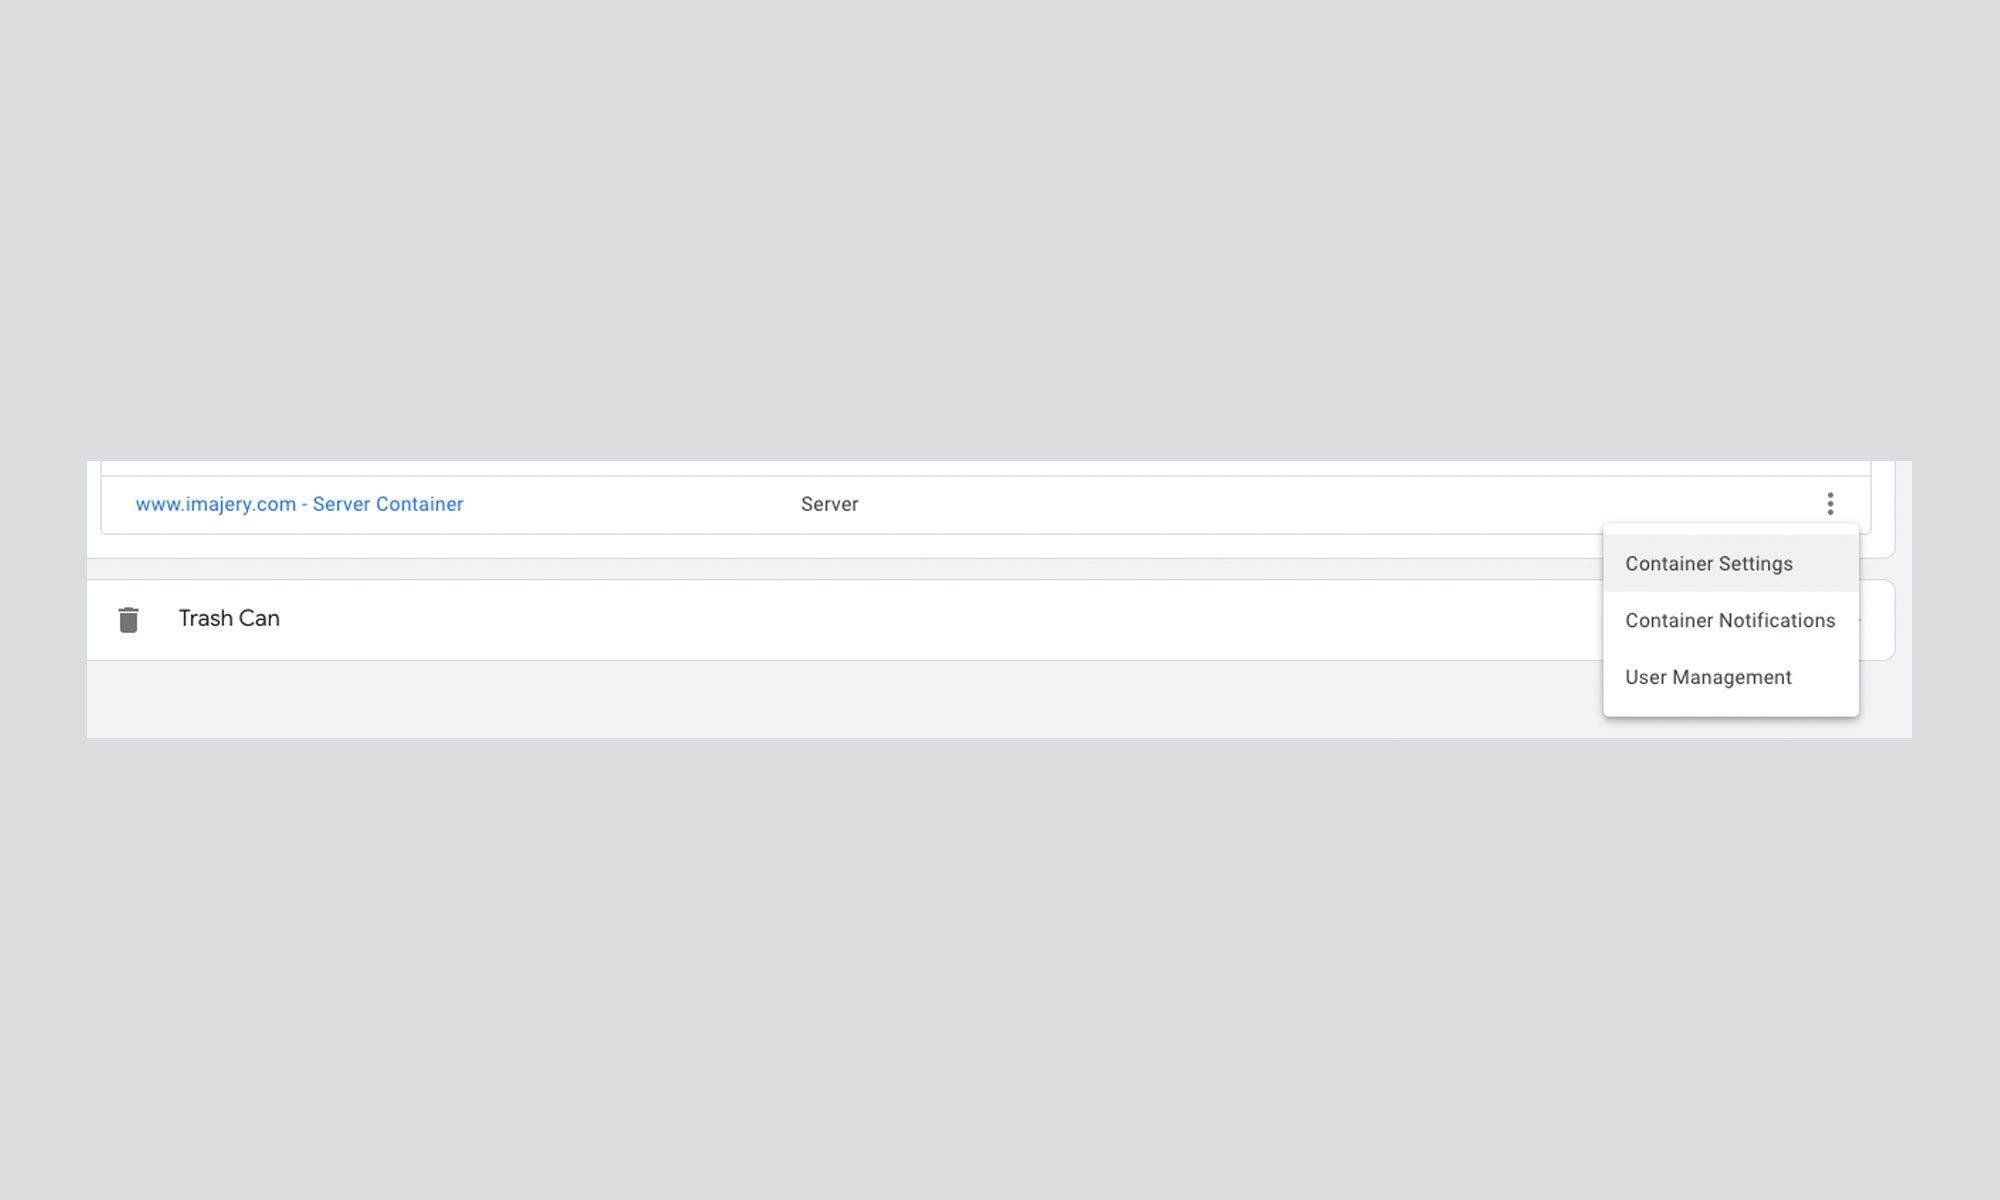
- Click ⋮ next to your server container and select Container Settings.

- Click Set up your tagging server.
- Click Automatically provision your tagging server.
- A dialogue titled Create tagging server will appear.
- Select your newly created billing account and click Select billing account and create server.
- Wait for the “Stand by while your server is created. This may take a few minutes.” dialogue to finish.
- On the Server Created dialogue, click Close.
Add a Custom Domain to the Server Container
Since ad and tracking blockers may prevent server-side tagging, we suggest using a subdomain for the web server being measured.
- Go to https://console.cloud.google.com/welcome
- Select the server container project from the dropdown at the top of the screen.

- Click the hamburger menu in the upper left-hand corner
 And navigate to More Products->App Engine->Settings.

- Got the Custom Domains tab and click Add a custom domain.
- Select the website being measured’s domain. If it is not in the dropdown, please jump to the Verify a New Domain section below.
- Enter the custom subdomain for the server container and click Save Mappings. <imajery> suggests using metrics for the name but anything unique will work.

- Let the subdomain save and then click Continue.
- Add the listed records to the domain’s DNS.
- Once that is complete click Done. Google will then create an automatic SSL certificate within 60 minutes.
- Return to Google Tag Manager and Click ⋮ next to the server container.
- Select Continer Settings in the dropdown

- Click Add URL and enter your newly created subdomain including https://

- Click Save in the upper right-hand corner.
Verify a New Domain
- Select Verify a new domain from the dropdown menu.
- Enter the website being measured’s domain and click Verify

- In the new tab, follow the instructions to verify the domain. For more details, please visit Google’s support article Verify your site ownership.
- Return to the Google Cloud tab and continue the steps for adding a custom domain to the server container.
For more information, please see https://developers.google.com/tag-platform/tag-manager/server-side.
Author

Jay Sala
Founder
Founder
Interested in working with Us?
We'd love to hear from you!
